
Would it be possible to clear up your entire home by doing one little decluttering step after the other?
I actually prefer to do things in one go – to start a job and only stop when it’s finished.
However, often it’s not possible to complete a decluttering project in one go.
-
- If we are in an extremely busy phase of our life we might just not have the time for a decluttering project that will take several days or even weeks to get completed.
- There might be other reasons why we don’t feel physically or mentally able to go through a complex energy- and effort-demanding project.
Thus, the decision to do it all in one go can become the reason why we don’t start at all!
The solution is to let go of the idea that we have to do it all at once:
We move towards our decluttering goal by taking one little step after the other.
CLICK HERE to read more about the ‘Small-Steps-Decluttering Approach’.
Example of a small-steps decluttering project
I haven’t been feeling comfortable in my home office for a while.
There is too much stuff lying around on my desk, the drawers are too full, the filing cabinets need to be cleared up, the files on my computer as well, and I also want to sort out and give away some of my books.
However, I don’t have the time to do all the work in one go and – sitting in my messy office every day – I started to feel frustrated.
My mood switched immediately as soon as I had decided to take a step-by-step approach.
This is one example of my small-step projects:
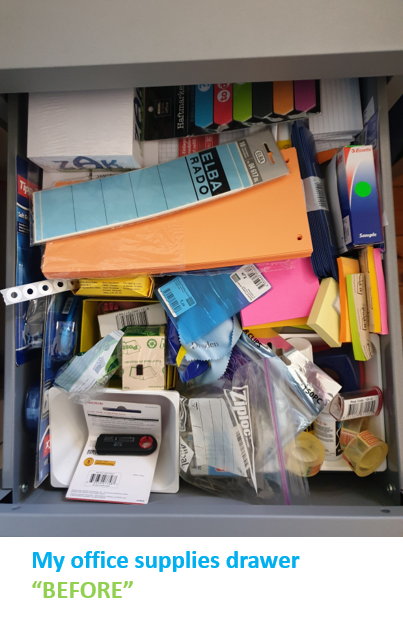
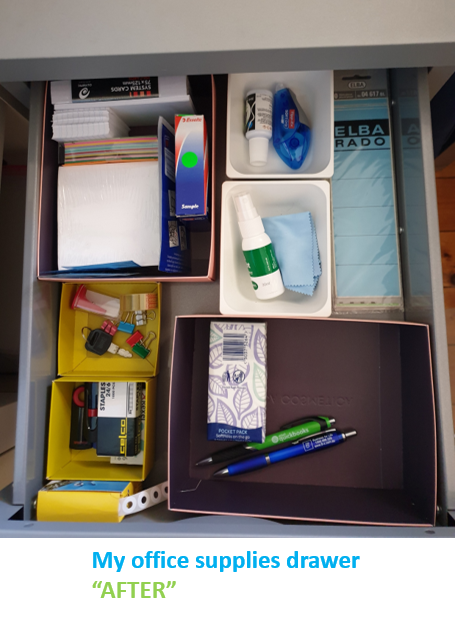
Decluttering the office-supplies drawer
Recently, I had 30 minutes before I had to leave the house to meet a client, and I was determined to finally get the drawer with my office supplies sorted out.
I followed my own advice (read more):
I set the timer, and took a photograph of my cluttered drawer.
I emptied the content of the drawer on the floor,
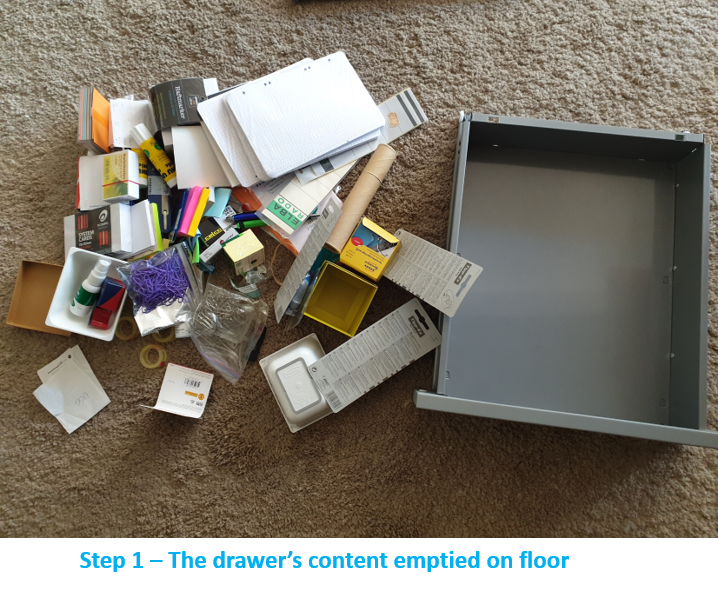
Then I got rid of what was broken or no longer usable, and sorted the rest into categories of like items.

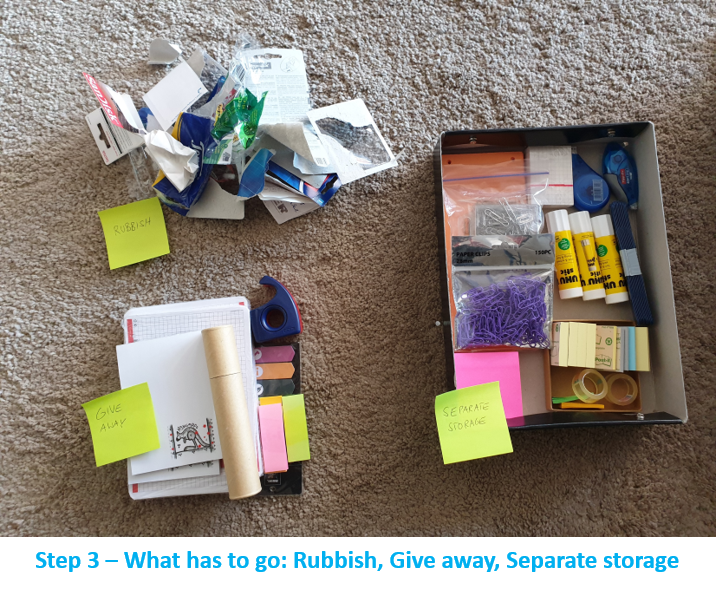
Now I created 3 piles:
-
- to give away (e.g. note pads I never use),
- to keep in the drawer (one exemplar of all the different things I regularly need),
- and to store away (all duplicates and extra stock)
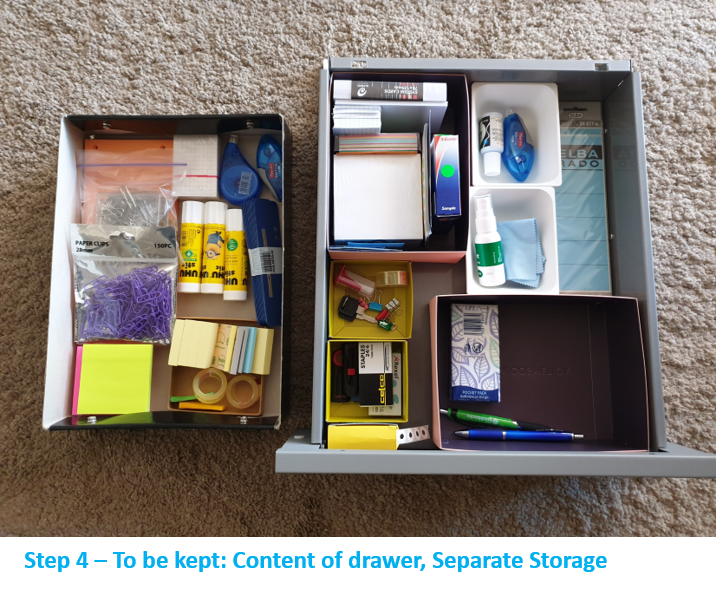
I cleaned the drawer, arranged the ‘keep in the drawer’ stuff nicely, and put the ‘to store away’ things in a storage box.
My drawer looks very organised now, and I know where to find more supplies as soon as something has been used up.
And it took me just 25 minutes to get the job done!
Yes, I like this result of the ‘strategy of small steps’:
How do you manage large decluttering projects?
Do you divide bigger projects into smaller steps?
How does it work for you?